Northwave Extreme 3s Road Bike Shoe Overview
Submitted by matt on Thu, 05/28/2015 - 17:37Bike Category:
Company:
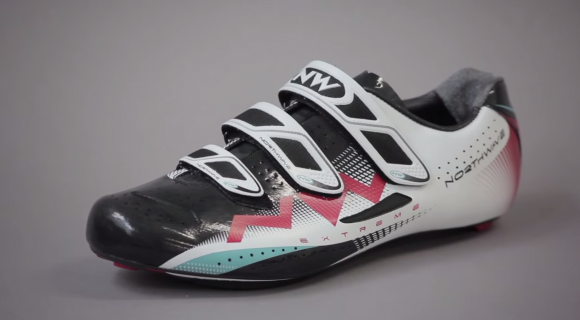
Extreme 3S
The way the Northwave Extreme 3S Road Shoe is made means it still allows natural curved outsole shape. At the same time it reduces unnecessary weight that some 4 hole flat soled Speedplay specific shoes have. The natural outsole shape means the fore or aft cleat positions do not push the pedal further from the foot compared to the completely flat 4 hole systems.
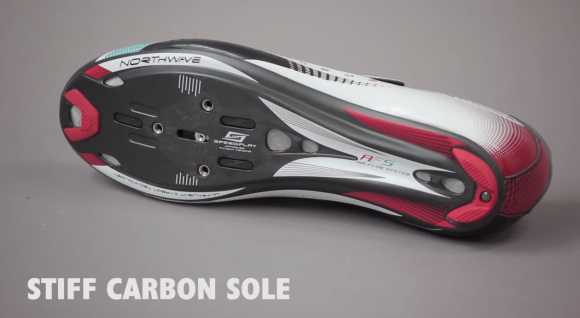
Carbon Sole
Fabric: Ultralight carbon, ultralight microfiber. Nylon
Construction: Biomap without stitching
Upper: Ultralight Microfiber
Insole: Extreme air
Outsole: Nylon with stainless steel outsole protection plate
Sole: Ultralight carbon sole
Closure: 3 superlight straps
Extra Features: Just 0.3mm stack height instead of 3mm with normal Speedplay adaptor – saves 7.5g