For many consumers, once they buy their new bike they'll never think twice about the handlebar stem as it generally doesn't cause the rider any problems. There are times though when a bad spill will bend the stem or a person might just want to swap out for a longer or shorter model. Your ride can be more of a convenience with these tips on how to swap out your bike handlebar stems.
Set Up the Bike
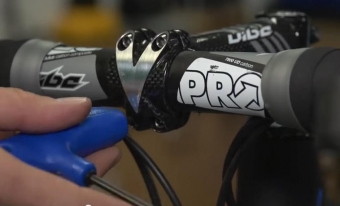
The job of changing out the handlebar stems works best on a bike stand. If you have one set up your bike and first remove the front tire. Next take out the four bolts that connect the handlebar to the stem. It works better to remove each of the bolts just a little at a time to prevent any unneeded stress on them. Next the top cap is removed with a 5mm Allen wrench generally. Take out the bolt and the cap and set them somewhere safe before finally removing the two stem bolts that represent the last remnant of your old handlebar stem.

Removing each bolt a little at a time will give you best results
Replacing the Stem
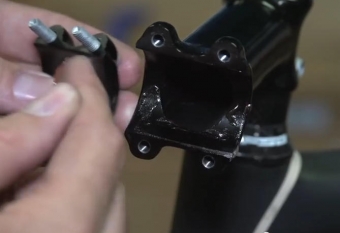
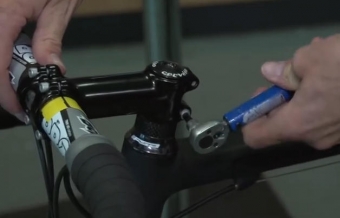
Take the old stem off and replace it with the new one. If your new handlebar stem is not as tall as the old one, you'll need to purchase an adapter to get it to the correct height. Next replace the top cap and bolt before applying some grip paste to the inside of the new stem that contacts the handlebars. Applying anti-seize paste to each of the 4 bolts is also a wise idea. The next step is to get the handlebars back in place and tighten the stem bolts one at a time. You'll need a torque wrench to tighten these to the proper levels before finally putting the front tire back on. Once the bike is back on the ground get the wheels and handlebars in line before making the final tightening run on all the bolts.

grip putty and anti-seizing compound represent an extra line of defense
Whether it's for style or functionality, replacing a bike handlebar stem is an easy job.

It's best to save all the final tightening for when the bike is back on the ground and you can check for play