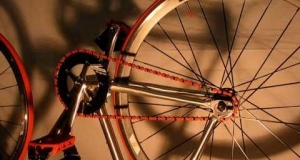
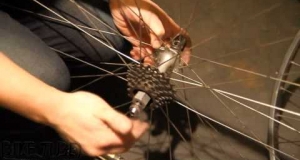
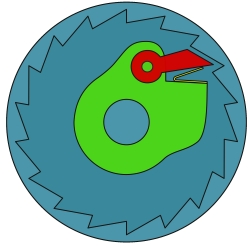
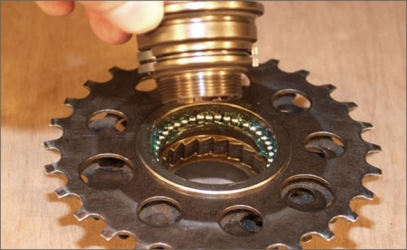
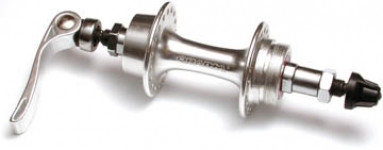
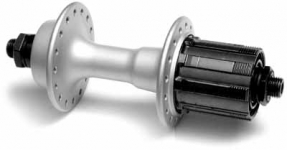
A freewheel threads onto the axle, the cog cluster is threaded over top of that, and finally the chain is attached. As the rider pedals, it constantly tightens the freewheel down on the threads. Removing the free wheel isn't as easy as spinning the cassette counter-clockwise (opposite to installation), because the ratchet mechanism will just allow the cassette to spin freely.

To remove the freewheel, a special "freewheel tool" is applied. It looks like a socket with splines on the exterior. When the socket is put over the freewheel, the splines engage the non-rotational part of the freewheel, and it can be threaded from the axle. There are a four spline styles of freewheel tools, so it's important to match the splines on the tool to the correct freewheel.


Removal can sometimes be difficult because the current freewheel has been tightened and tightened and tightened to no end by the constant pedaling of the rider. This is a main reason for the switch over to freehubs. More distance away from the rotational center gives you more torque on the socket. It will come off princess, roll up your sleeves.

To remove and install a freehub body is very simple. Remove the locknut holding on the cassette on with a socket. Grip the cassette with a chain whip or something of that nature.
With the cassette removed, the freehub body can be unscrewed with just a 10mm hex key.


To install, just thread on the new freehub body, replace the cassette and cinch it down with the locknut.

