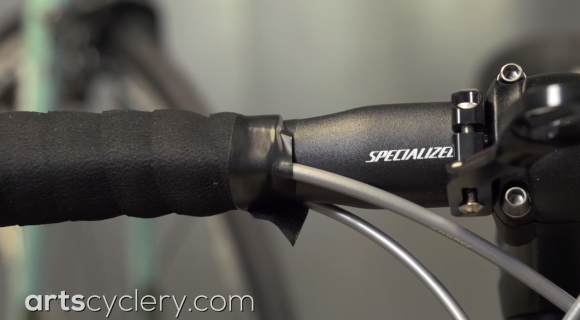
Bike maintenance is something we take seriously here at Art's Cyclery. We want to make sure your bike functions perfectly every time you go out. Whether you're on a mountain bike, or a road bike, we'll be there every step of the way to make sure you have the best experience possible. While there are many great methods to wrap finishing tape, this method has worked well for us without fail. Most finishing tape issues stem from using the finishing tape to cover both the handlebar tape and the handlebar. Because the taped portion of the bar is uneven and larger in diameter than the handlebar, the finishing tape has to be stretched to achieve a wrinkle free application. The adhesive on the finishing tape is not strong enough to hold this position and nearly always ends up unwinding and losing tension.
Loose Tape
Our way around this is to apply the finishing tape to the handlebar tape only. Electrical tape will work just fine with this method. Just be sure to choose a high quality tape from a reputable brand like 3M. The good tapes have better adhesive and conform better to irregularities in the handlebar tape. You'll be able to have that perfect, pro look to your handlebars with our finishing tape tutorial video. Don't forget to explore the rest of our Learning Center for more great instructional videos. Once your bike is all set up, make sure none of your components will hold you back.
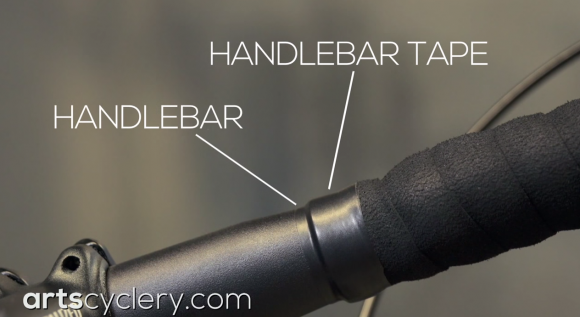
Handlebar and Tape
Step 1: We'll start the installation by cutting a long tail on the tape that creates a square edge to the end of the handlebar tape. This tail should extend roughly all the way around the bar.
Step 2: Apply the electrical tape to the tail of the handlebar tape about an inch up from the tip. Pull the tape tight and begin wrapping the handlebar.
Step 3: We like to make a total of 3 laps around the bar, so begin by pulling the electrical tape tightly enough that it stretches just a little for the first 2 laps. Then, for the last lap I don't stretch the tape at all. This prevents the tape from unraveling and leaving a mess on your handlebar.
Step 4: Cut the tape so that the seam is on the underside of the bar just in front of the cables. If you go over the cables, that bulge will make the edge of the finishing tape want to peel off, so just avoid it.
Step 5: Now go ride and get that new tape dirty!