When getting a new freewheel or changing some aspect of the drivetrain on your single speed or fixed gear, it is important to check the chain line on the bike to ensure straightness.
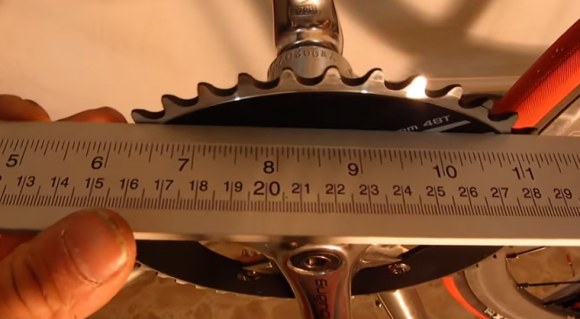
Start by removing the chain on your bike. It’s not necessary to completely remove it, but you will want it off of the cog and the chainring. Once the chain is off grab a straight edge of some kind. In the video, a large caliper is used. Lay this flat against the chain ring, making sure not to accidentally lay it on the chainring bolts.

Lay a straight edge flat against chain ring
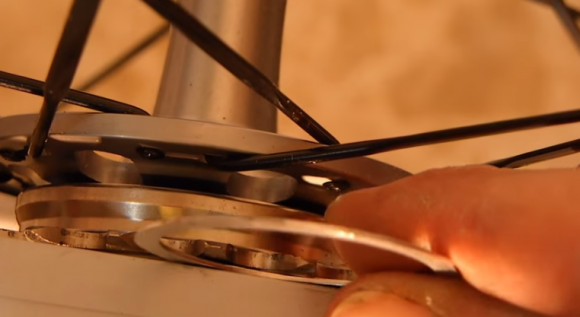
Use this straight edge to gauge the amount of space between it and the cog. In the video, you can see there is about a 1mm separation, indicating the chain line isn’t as straight as can be. If the chain line indicates you need to make an adjustment, then you will need to remove the freewheel, which requires a freewheel removal tool and adjustable wrench. Once the freewheel is off, use spacers to adjust the freewheel accordingly. Using these spacers as a way to measure how off the chain line is initially will help you know how many to put on when adjusting. Reinstall the freewheel with the spacers, then check the chain line again. Hopefully, you are good to go.

Shims or spacers are a great way to measure distance between straight edge and freewheel