Watching these YouTube videos, I am pleasantly surprised when someone can make a bike tutorial funny. Why I was pissing myself laughing at this particular video had to do probably with the deadpan tone of the narrator’s voice, in a Canadian accent, making little puns. It was pretty endearing.
How often you overhaul bike hubs depends, as always, on how you ride. If you’re off-roading it, you’ll probably want to do that once a year. Roadies will probably need to be doing it every other year. In both cases, if you go underwater (riding through huge puddles/lakes/swimming pool), get an overhaul as soon as you can. Things will rust and your ride will be crap.
You will need:
Cone wrench
Regular wrench
A magnet
Screwdriver
Grease (preferably not of the vegetable-based variety)
Degreaser
It is recommendable that you put in new bearings, seeing as that you’re already in there anyway. They are cheap and it’s better to err on the side of caution than not.
Remember: there are usually 9 in the rear hub and 10 to 11 in the front ON EACH SIDE OF THE TIRE. So there are normally 18 in the rear hub and 20 to 22 in the front hub. If you’re not sure about the size, take one into to a reputable shop and have them check for you.

With your wrenches, loosen the locknut or ring so that you can remove the spacers and the cone. Remember the order in which they came out. Remove the axle.
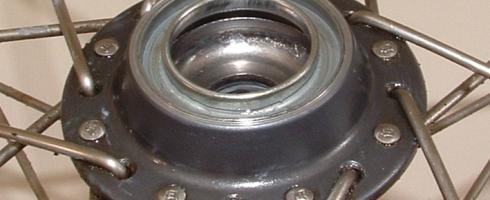
Make sure you carefully take out the bearings. Have a rag underneath to catch them, in case they fall out or roll.
Degrease everything so that you can carefully check for pitting.
When you’ve got everything clean and kosher, liberally apply grease, put in the ball bearings, the axle, cone, spacers and lockring. Make sure you even out the spacing on the axle so that when you actually put your tire on the bike, the skewer actually has somewhere to hold on to.