Do you have any tips on how to replace internally routed cables? I always dread changing mine.
Nearly every mechanic has cursed the widespread adoption of internally routed cables for the extra time and hassle that it creates every time that you want to replace a cable, but there are ways to reduce this hassle to a minimum.
Today I’ll show a few different basic ways that apply to all frames with internally routed cables. The most important thing to remember is to avoid rushing into it. Oftentimes, once you remove the inner wire or the cable housing, you’ve lost your opportunity for a smooth installation, so stop and think ahead before you start. Make sure you have all of the right tool sand parts you need to get the job done right. That includes good lighting and also a small flashlight to look inside of the frame if you have to.
The most commonly used part for performing an installation is thin tubing that you can slide over your old cable. Cut the tubing to a length that will extend the full distance of the internal portion of the cable’s length, plus a few extra inches at each end. Once this tubing is installed, tape it down to the frame so it doesn’t pull out. Remove the old cable and slide the new cable through the tubing. If you don’t have some of this tubing, you can salvage it from old derailleur housing. Just cut the end of the housing length wise and use pliers to rip the wire out of the housing. The inner sheath is what you need.
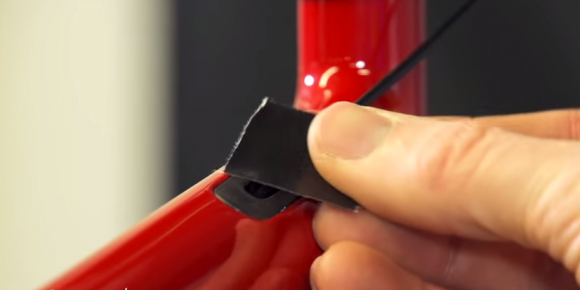
Tape Down the Cable
In the cases where you’ve pulled the cable out of the frame before first chasing it with the tubing, you’ll need a different solution. My go to is to use a hook tool, which I make out of an old spoke. Use a flashlight and the hook tool to pull the cable out of the frame and you’re all done.
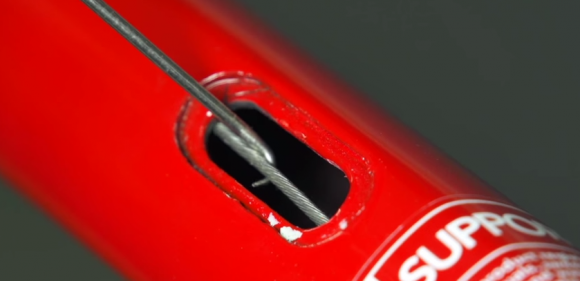
Fish the Wire out of the Frame with a Hook Tool