Required told: 5 mm hex, torque wrench, phillips head screwdriver, flat head screwdriver, derailleur alignment tool, cable cutters, and needle nose pliers.
It is important to note that Sram rear derailleurs are meant for exclusive use with Sram’s new double tap technology, and are not cross compatible with other Sram shifting systems.
Rear Derailleur parts: the 3 physical features unique to Sram derailleurs are cable bath, coaxial guide pulley, and B-adjustment assembly. Both Sram’s Rival and Force share the following subcomponents: B-knuckle, B-bolt, B-washer & B-adjust screw, Barrel adjuster, High and low limiters, cable guide, binder bolt, and grooved washer, parallelogram spring, P-knuckle, and pulley cage.
First, check hanger alignment with rear wheel installed and fastened. This will help optimal indexing of your derailleur. Once, the hanger is prepped, align the B-adjust washer and B-screw to fit the frame hanger profile. Then, thread the B-bolt into the frame.
Next, set the high and low limiters. Viewing from the back of the derailleur, adjust the high or H-limiter screw so that the guide pulley teeth align with the outside edge of the smallest cog. Next adjust the L-limiter screw to have the pulley centered under the largest cog.
Adjust H-limiter screw on the rear derailleur so that the guide pulley teeth align with the outside edge of the smallest cog
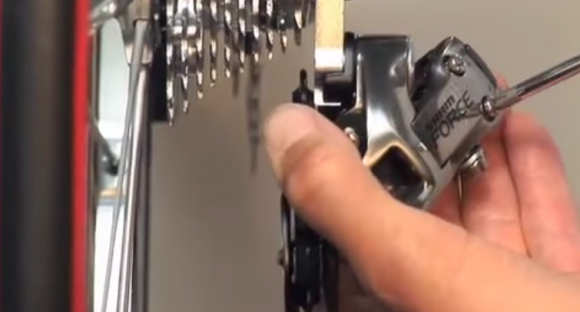
Set chain gap (the guide’s proximity to the cogs) using the B-adjust screw. Set the gap to approximately 6mm for optimal shifting performance.
Use the B-adjust screw on the rear derailleur to set chain gap.
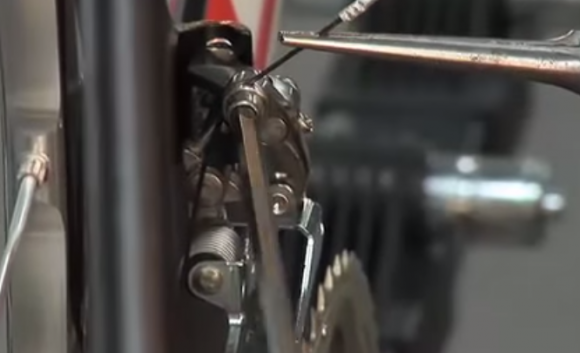
Cable install: thread the cable path and unwind one full revolution of the barrel stop. Now, route the derailleur cable and tighten the cable binder bolt. Now you’re ready to fine tune.
Front Derailleurs: The Sram front road derailleurs have been engineered specifically for 10 speed performance. They operate with double cranksets only. The cage is designed for use with both compact and standard chain ring sizes, and has a 16 tooth differential capacity.
Installation is similar to other designs available today. Start by adjusting the height of the front derailleur in order to create a vertical gap of 1-3 mm from the front derailleur cage to the tallest teeth of the biggest chainring.

Adjust front derailleur height to create a gap of 1-3 mm.
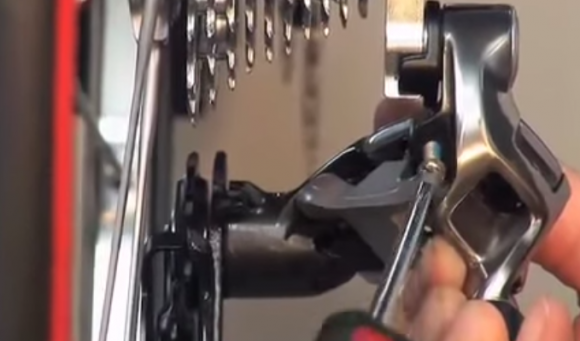
Next, align the front derailleur cage parallel to the front of the chainrings. Once this is set tighten the fixing bolt.
Tighten fixing bolt on front derailleur.
Front derailleur tuning: once the chain is installed and the rear derailleur has been set, shift into the largest rear cog and, using the inboard limiter screw, adjust the cage to within 1mm of contacting the chain. Next, be sure that the front shifter is in the fully released position, then shift into the smallest rear cog. Thread the cable into the frame, tension it, and install it. Now test shifting.