Here you're going to see how to install a Stan's tubeless kit into a non-Stan's mountain wheel. The tools you're going to need: a drill with 3/8 inch bit, the proper kit (refer to our website at notubes.com for the proper kit for your wheel), tire lever, a file or de-burring tool, preferred tire, floor pump or compressor, and soapy water or spray bottle with soapy water in it. More often than not, you may leave the existing tape inside the wheel. Should you need to re-tape the wheel, please refer to our how-to tape mountain wheel segment.
Drill a 3/8 inch hole only in the inner rim wall. Do not drill all the way through. This will allow proper fit of the rim strip at the valve to the rim. Please note that enlarging the whole does not prevent use of tubes in the future. You can still use tubes.

Drill Inner Rim Wall
Place the rim strip valve into the rim valve hole and hand tighten. Install the rim strip around the rim. Make sure the strip has been evenly distributed inside the rim so that it does not interfere with the bead of the rim when you do you install your tire. If this is a problem with you, you can drop your ring strip into soapy water, which allows for a little bit easier install. Some beads are tighter than others.
Follow these steps to assist for easy install. Place your wheel inside the tire. Tire beads should be on the outside of each rim wall. Install one side of the tire bead. Make sure you install the valve stem last. This ensures more room, easier installation on tight beaded tires. If you need a tire lever at the end you may use it. Use it gently so not to tear the yellow tape or damage the tire bead. Repeat the other side the same way you did the first side and don't forget you can use a tire lever if need be, and you want to take your bottle of soapy water and spray around both beads of the tire and between the bead of the rims. This will allow the tire to inflate at much lower pressures and easily snap into place. With the bead already fully installed on the wheel, take the core remover tool and extract the valve core from the valve. Take the Stan's injector, install it onto the valve, apply the to 2-4 ounces of sealant and you're going to inject it into the tire. Place the valve core onto the valve with the Stan's core remover tool.
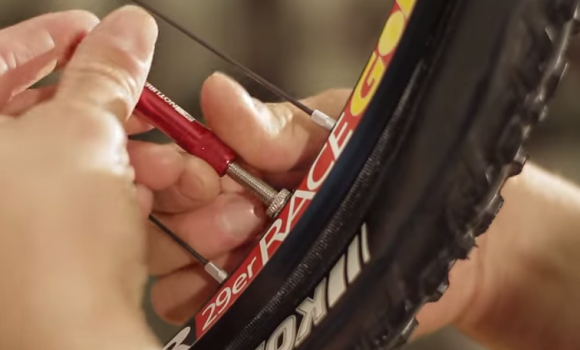
Extract Valve Core
Option two is pretty simple as well. Before you install the bead of the tire, you want to shake the sealant very well and you want to poor one-and-a-half to two cups of sealant depending on the size of the tire, if the tire is new, or if it just needs replenishing. Once that is done, install the bead completely. Before you inflate again, apply soapy water with a spray bottle or brush and make sure you get it on both sides of the tire for easy inflation. Refer to our rims for inflation. Do not over inflate. You want to make sure you shake the wheel to get the sealant all around the tire. Your coating the tire for any air leaks which could be possible depending on whatever tire you use. Make sure bead is concentric. You want to set the wheel aside horizontally for 10 to 15 minutes allow the sealant to coat and seal any air leaks on the tire sidewall.
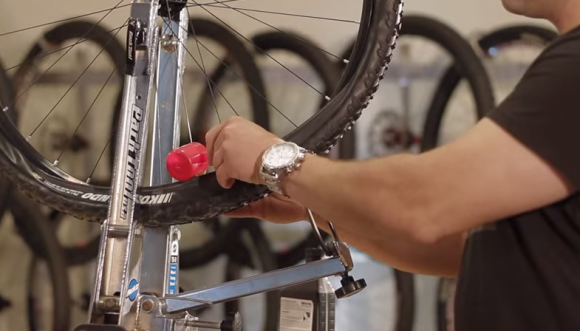
Fill with Sealant