This video will show you how to remove a tubular tire and how to remove the excess glue from the rim bed afterwards.
There are two ways to remove the tire from your rim. If you do not plan on keeping the tire, put a cut in the tire with a small razor, slip a finger inside the tire, and just pull it right off. If you’re going to save the tire, start by going opposite the valve hole, put the tire on the ground and start working with your fingers on either side to remove some of that glue. The popping noise is a sing that you are starting to remove the edge of the tire from the rim bed.
Once you have a certain amount of the tire off, all you do is put your body weight into it, and it will come right off. Be careful that it doesn’t rip up the rim strip, so go slow and do a little bit at a time. As we get close to the valve hole, careful again that you don’t damage the tubular where the valve attaches.
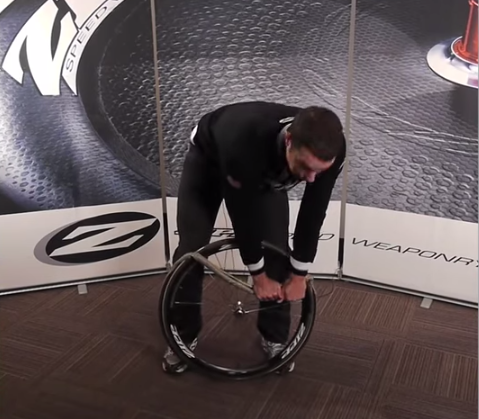
Use body weight to remove tubular tire from rim.
To remove the glue you will need a couple different things to get stared: a solvent- either acetone or goof off, anything else can ruin the warranty on your rim, a shop rag, and a popsicle stick or some other dull pretty soft tool.
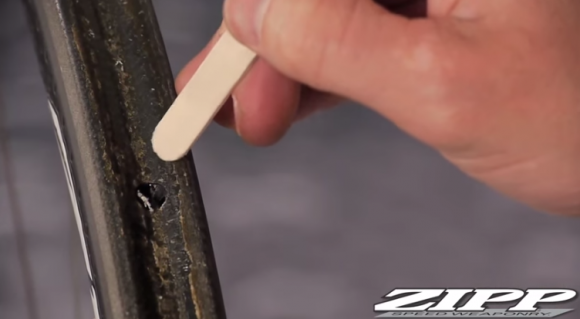
Use a soft tool, like a popsicle stick, to remove tubular glue from rim.
Do not soak the rim in the solvent. Instead, apply an amount to you rag and work the rag between the spoke holes. There’s no special technique here, it just takes time and patience. Then start to work at the spoke holes themselves. Apply solvent from the rag directly to the spoke hole and work the glue out with the soft tool. This is a process you want to repeat all the way around the rim. Expect it to take around 30-40 minutes per rim to do a really good job. Once all the rim is removed, you can also use 180 grit sandpaper to help prepare the rim for the next gluing.