Taking off crank and eliminating creaks:
This video will deal with external bottom bracket styles. You will need a chain breaker, bottom bracket puller, 8mm allen, 4-5-6 mm allen, a chainring bolt tool, grease, and an extra 5 mm allen.
One of the first steps is to just get your chain off. This makes it easier to get your crank off.
To remove your cranks, use the 8mm allen to loosen the crank arm bolts. Once loosened, start by pulling off the crank arm on the non-drive side. Then go ahead and pull off the crank on the drive side as well. You can see now that the cranks probably have a lot of gunk and dirt inside of them. Looking at the bottom bracket, you will see a considerable amount of mud caked around the bottom bracket itself. Most likely, this is the cause of any creaking you here. From here, it is basically taking apart and cleaning.
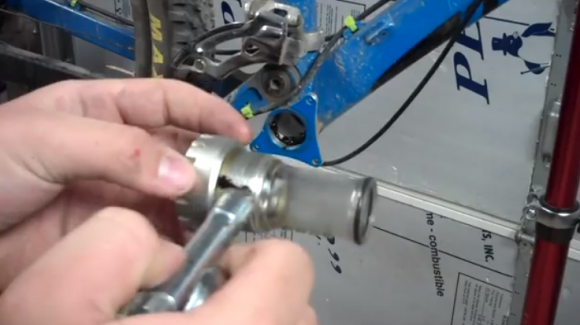
The next step is to take off the bottom bracket. For this you will have to use the bottom bracket puller. The style in this video is used explicitly for external bottom brackets. For the right hand side of the bike, turning right will loosen the bottom bracket. Once you get it loosened, pull the bottom bracket out. Then pull the spindle fully out. Repeat this process with the other side of the bike, in this case turning left will loosen.

Remove Bottom Bracket by Loosening with Tool
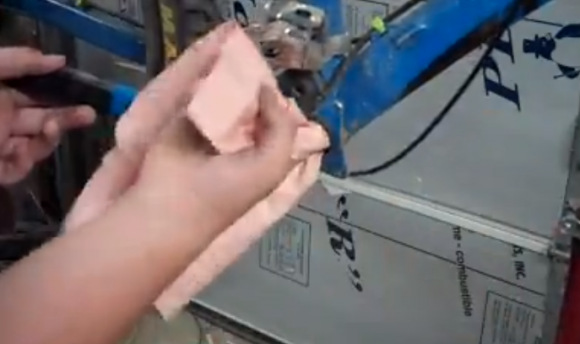
Once the bottom bracket is out of both sides of the bike, clean the space out with a cloth and alcohol. There will be a lot of dirt and grease mixed together. Try and get as much out as possible. In addition to cleaning out your bottom bracket, also clean out the bottom bracket cup of any grease caked around it. Once everything is removed and cleaned, it is time to put things back in.

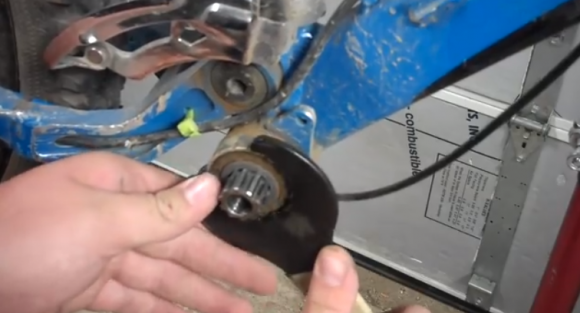
Clean Bottom Bracket Shell of Grease and Dirt
Grease is crucial for the survival of parts and helping components to be removed later. Apply a pretty generous amount of grease into the cup itself, and smear it in to all the threads. It’s ok to put a little bit more on the bottom bracket shell itself. Go ahead and thread the bottom bracket back in after greasing it. Be careful during this process because cross threading can damage the bottom bracket and make it difficult to remove. Once it is finger tight, use the puller to tighten it further: snug, but not over the top. Then repeat for the other side.

Reapply Grease to Bottom Bracket After Cleaning
Back to the cranks. Use your 5mm to take off the chainring bolts and remove the chainrings. In some cases you will need a chainring bolt tool for removal. In other cases a different sized allen key will work. Once you’ve removed the chainrings, you are now able to really clean the crank.
Once you’ve cleaned sufficiently, it’s time to reassemble. Be aware of the direction you are reassembling everything. It should be the same as when it came off. Make sure everything is tight or else this may be a reason for noise as well. Go ahead and put the cranks back on, then the chain and you’re done.