Handlebars are often overlooked but are a pretty essential device on any bike this side of a unicycle. For the ultimate in grip and performance many riders opt to use bar tape for even better handling. While it may sound quite simple to apply handlebar tape on a bike, there is a little science to it. By using these wrapping tips you'll become one of the best tapers on paper.
The first thing to be aware of is what kind of bar tape fits your needs. One style is a cork tape that has a grippy surface, is a little thinner, and has a nice classic feel. A second tape is gel tape that is synthetic and has good stretchability for tight, easy, wrapping. The gel cancels out a lot of road vibration and eases stress on your arms and hands. There is also a microtex tape that is very thing but has a more soft and leathery feel. It does take some skill to wrap with the microtek but it is a very nice option. Finally a bar gel can be purchased to stick right on your handlebars that creates a 1/4" barrier on your bar that can then be taped to really cancel vibration.
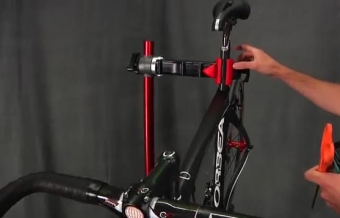
A bike stand really helps with the efficiency of wrapping your bars
The main tools you need for handlebar wrapping are a good pair of scissors, some electrical tape, and a stand if possible. The first step is to get your bar nice and clean. Use the electrical tape to keep the cables secured where they need to be. Now grab your preferred tape type and if it has a logo unravel it the entire way so you can start on the correct end. Start at the end of the bar and go clockwise around. Get a good firm grip on the tape as that's the key for maximum looks and feel. It's important to let the tape hang over about 1/2" so that you can tuck the tape in and subsequently seal the plug. Wrap the tape around giving yourself a uniform overlap on each roll.

Getting a solid start is the key to a good handlebar wrap job
Make sure to check out part 2 of how to wrap your handlebars.