There's a lot of moving parts on a bike that we often take for granted. Most riders don't think twice about our seat until it starts swiveling or our pedals until they get stuck. Along those same lines is the bike headset, which serves a definite purpose but is also prone to coming loose, squeaking, and causing a general nuisance while we ride. While a headset replacement is not too far out of the realm of a simple DIY fix, in some instances the unit simply needs to be tightened back up instead of changed out. Here's how to do it.
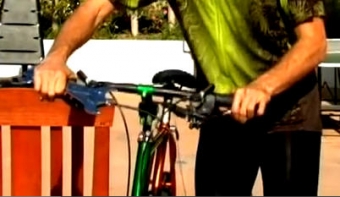
The shaky headset should be pretty obvious
Equip Yourself
You'll generally be able to tell if a headset is loose just because it shakes when you apply both brakes and try and shimmy it. The shake can be subtle or it can be a huge distraction but for safety purposes it should be tightened back up. The tools you'll need are a pair of 32 mm cone wrenches. The headset has two large nuts that work against each other and the first step in tightening is to actually loosen the headset.
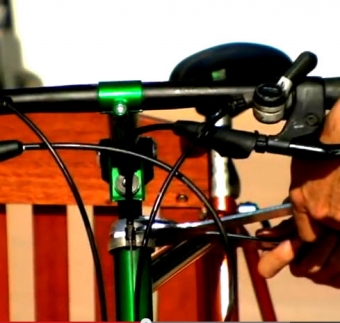
The special cone wrenches are needed to work against each other
Tighten the Headset
Once the shaky headset is loosened up, you can straighten it out and first tighten the bottom nut. The bottom nut works with ball bearings at the bottom of the stem in a cohesive unit. You don't want to simply tighten both the nuts because it will just crush the ball bearings. Once the bottom nut is tightened, keep it in place with one of the wrenches and then tighten the top nut down to it. When the nut is secure spray the area with some lube and you're ready to ride stress-free.
It may sound like a detailed process but once you get the set of cone wrenches out and the nut loose tightening the headset will be a pretty easy fix, and you save money of buying a replacement.