How to Route Brake Cable Hose on RockShox RS-1 Fork
RS-1 Brake Hose Routing:
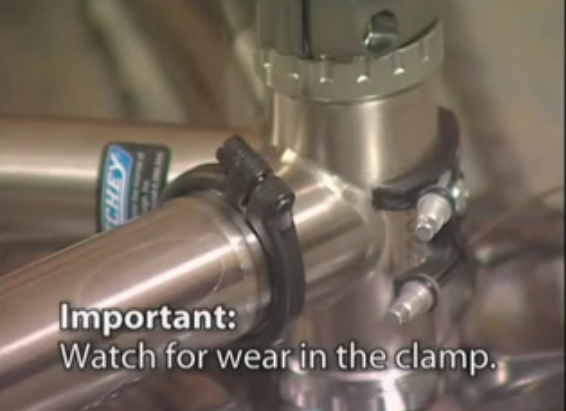
Proper brake hose routing on the RS-1 is important to make sure your hose is not rubbing on your wheel or tire, and to make sure the brake hose is not damaging the finish of your new fork.
Before you begin, make sure that your front brake hose is cut to the appropriate length.
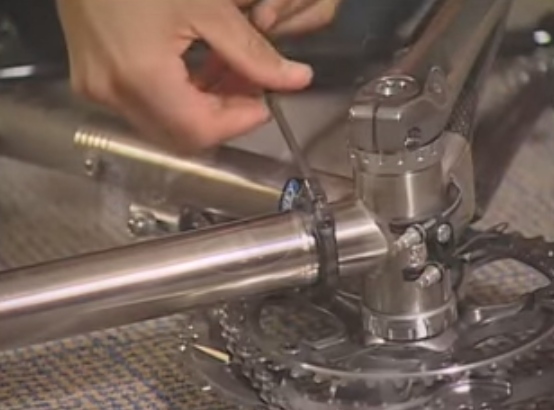
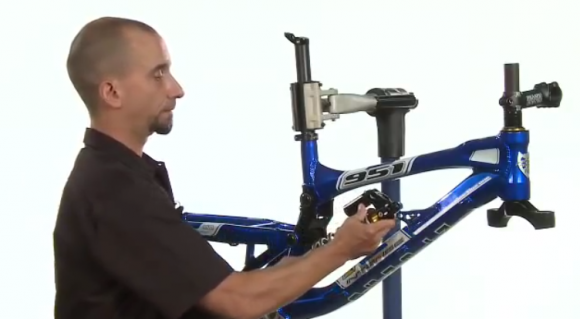
First, install the front brake caliper onto your fork. Now, route your front brake hose through the two guide clips included in your RS-1 packet one at a time. Once the hose is inside the clips, attach each clip to the guide bases that are on the fork by pressing down from the top.
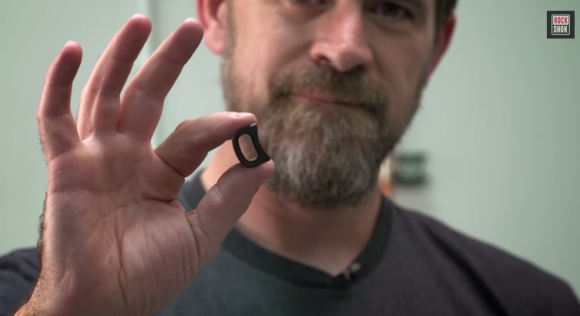
Route the Front Brake Hose through Provided Guide Clips
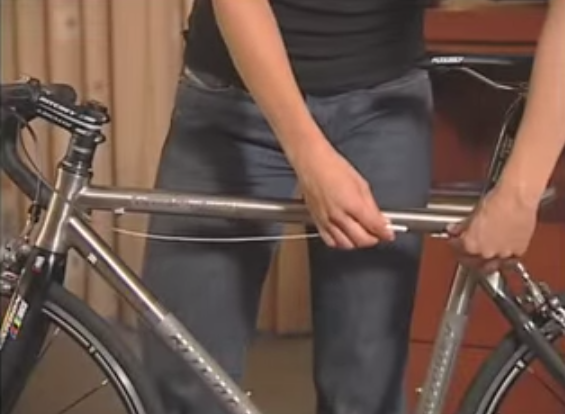
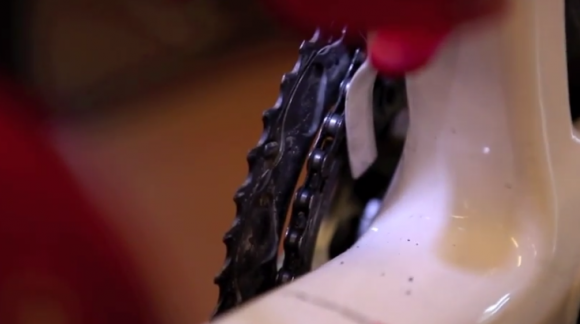
Now is the crucial moment to check the brake house routing. You might want to let some air out of your fork because you want to bottom out the fork during this process. Compress the fork a few times and watch the brake hose as it slides through the guides on the fork. In the vast majority of cases, the hose should not rub or contact the tire or wheel, or your carbon fiber upper. In case you are experiencing this issue, fine tune the hose path by adjusting the banjo of your brake caliper.
We have found that the hose in the 2 o’clock position when viewed from the caliper side of the fork is a good position for most setups. However, a different setup might be better for your bike.
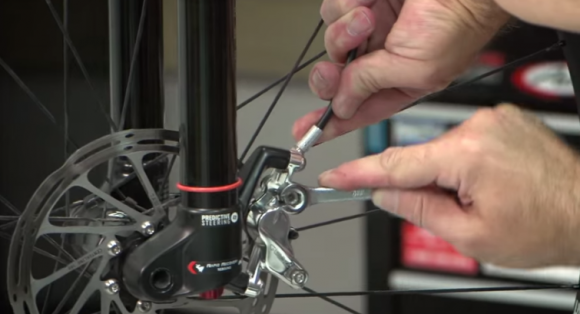
the 2 o’clock position when viewed from the caliper side of the fork is a good position for most setups
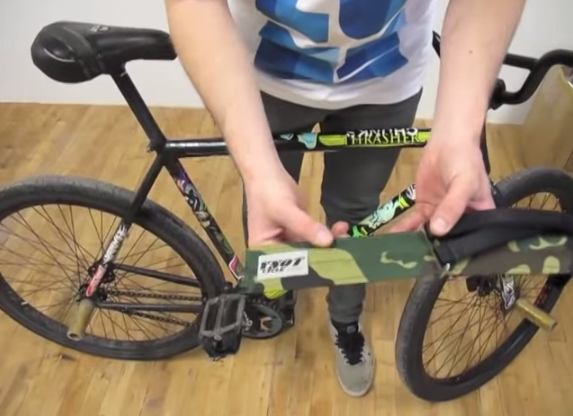
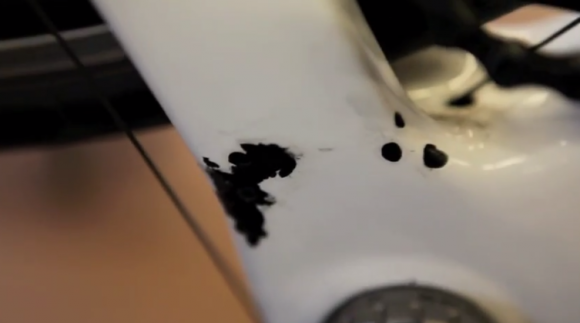
If you simply can’t prevent the hose from touching the carbon upper, you should also have a protective sheet of decals with your RS-1 fork. Attach one of these decals to the affected area.
Your hose is now correctly routed!