Installing Spokes on a SRAM XO HUB

Company: 

This video will show you a method for loading spokes on to SRAM XO hubs when you are building wheels.

XO hubs have a unique flange shaped design, which yields a much stronger and robust wheel set in the end. This design requires a slightly different approach when loading spokes into the hubs for wheel building.

Load your first spoke on the drive side flange. If you like to build your wheels with the XO logo aligned and centered with the valve hole on the rim for 32 hole hubs, insert your first spoke just to the left of the SRAM logo on the hub shelf.

Insert First Spoke on Front Hub Just to the Left of Sram Logo on Hub Shell

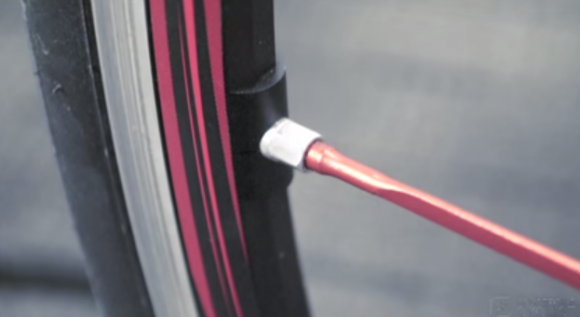
Insert this spoke into the 4th hole to the right of the valve stem on the rim.
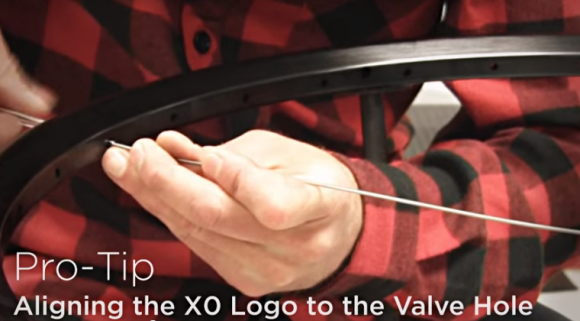
Insert First Spoke Into the 4th Hole to the Right of the Valve Stem of the Wheel Rim

For rear hubs, your first spoke should drop in two holes over from the tip of the X on the XO logo on the hub shelf. Just like the front hub, insert this spoke into the 4th hole to the right of the valve stem.
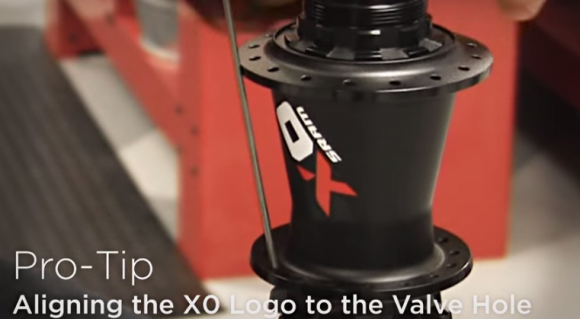
Insert First Spoke on Rear Hub Two Holes Over From Tip of X of the Logo on the Hub Shell

Use a little bit of pressure with your thumb, flex the spoke inward, and it will drop right in. Repeat 8 times for your drive side flange spokes.
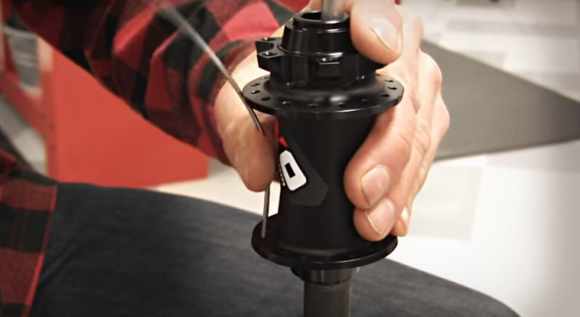
Put Pressure on Spoke to Allow it to Drop In to Drive Side Hub Flange

Now move to the top flange. The top flange spokes will insert without any interference.

Once you have your first 16 spokes loaded into your hub, start installing the nipples onto the spokes. Once they are loaded into the wheel, flip it over, and start with the other side.

Once you’ve flipped your wheel, start installing the next set of 8 spokes in this bottom flange. Using the same method to get the spoke to drop through. A little bit of extra flexing will be required for one or two of these holes. Once you get the 8 bottom spokes loaded, you can finish up with your top 8 spokes and the top flange. Then complete lacing your wheel and installing spokes.

Once you have your final 16 spokes loaded you can start installing nipples on to those spokes and finish up lacing your wheel. Once this is done, you are ready for final tensioning and truing.
Installing and Adjusting Sram Red DoubleTap Shifters

Company: 

This video will show you how to install and adjust Sram DoubleTap Shifters.

You will need the following tools and supplies: a 2.5 & 5 mm hex wrenches, a torque wrench, a pair of cable cutters, low friction shifter housing, 4 mm ferrules, 5 mm brake housing, and 5 mm ferrules.

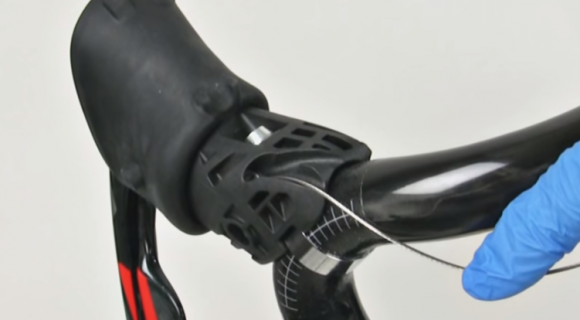
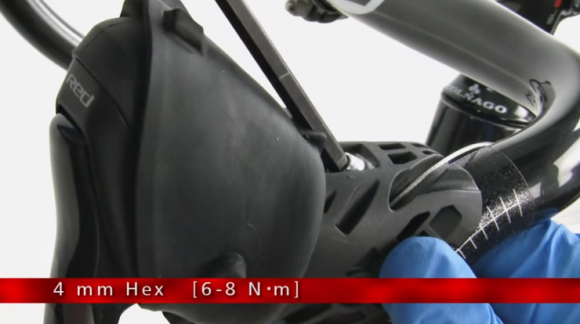
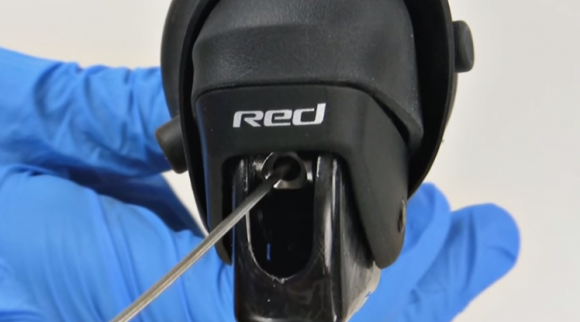
To install, slide the doubletap shifter onto the handle bar. Pull the hood cover forward to expose the clamp bolt. Hold the shift lever in the desired position and tighten the clamp bolt with the 4 mm hex.

Use the 4mm Hex to Loosen DoubleTap Shifter Clamp Bolt

Measure a length of brake cable housing that is long enough for the handlebars to rotate without pulling any cable housing from the housing stops.

Install a 5mm ferrule on to each end of the housing.

Pull the brake lever to the handle bar to expose the chamfered hole in the cable holder. Install a brake cable into the chamfered hole. Pull the cable to make sure the cable head is properly seated. Slide the brake housing on to the brake cable and then install the housing into the shift lever. Insert the cable into the cable stop followed by the housing.

Slide Brake Cable through Chemfered Hole in Cable Holder

To install the shift cable and housing, first select the shift cable routing that works best for your handlebar. Measure the shifter housing so it is long enough for the handlebars to rotate without pulling the housing out of the housing stop. Install a 4mm ferrule on to one end of the shifter housing. Insert the shifter cable into the end of the housing that does not have a ferrule. Install the housing into the integrated ferrule on the shift lever. Insert the cable and housing with ferrule into the shifter housing stop.

Choose the Desired Shifter Housing Route for Handlebars

Wrap the handlebar with high quality handlebar tape. Return the hood cover to the original position. The brake and shifters offer easy adjustment to fit any hand size. Use a hex to turn the reach bolts to adjust. You must set the shift lever reach adjust before setting the brake lever reach adjust. Press the shift and brake lever a few times to make sure the two levers do not interfere.

How To Fit A Press Fit BB

Company: 

How to press fit your bottom bracket:

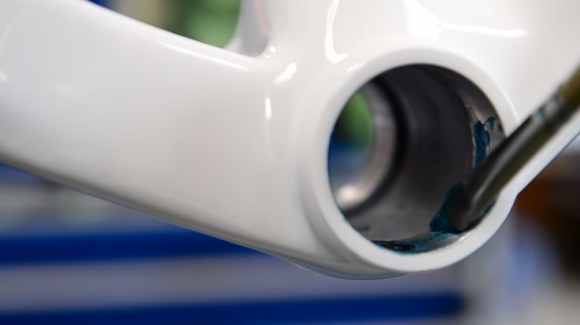
Apply Grease Before Installing

Apply Grease to Bottom Bracket Shell Before Installing

Make sure all surfaces are nice and clean, then apply a small, thin smear of grease to help ease the shells into place when it comes time to press them in. The we take our tool, making sure we have are on the correct side, slide the tool through the hole. Once the tool sits properly in the frame, take the 27 mm spanner and gently wind the tool in. Once you feel it gently touching after tightening, it is good. Then remove the washer and the tool.

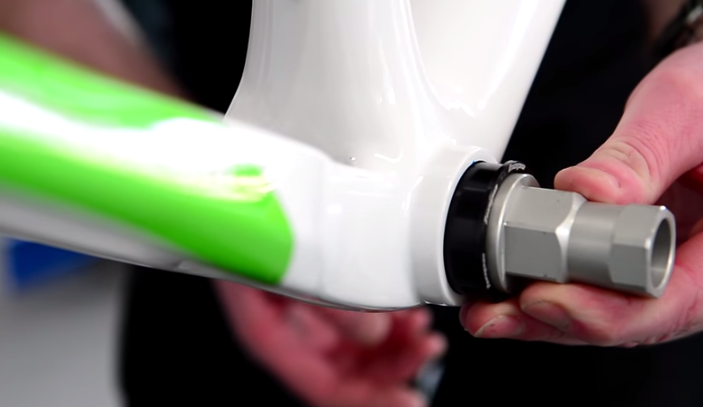
Use Bearing Press to Remove

Use Bearing Press to Remove Bottom Bracket Bearing

Then use the tool to secure the bearing on the other side. Again, gently wind it in, and when you get the cup edge to the frame you are close. Put a little bit of grease where the washers will sit on the tube and use the opposite end of the tool to thread that in. Use your finger from the other end to line it up if you feel it might not be straight.

Use a Spanner or Adjustable Wrench to Tighten Bearings into Place

Once everything has been fitted in the bottom bracket, add some more grease, and press the seal in with your hand. Use the tool again to press the spacer into position. Remove your tool and it is all ready for fitting your cranks.

Press Seal in with Hand

Press Seal into Bottom Bracket with Hand

Fulcrum Racing Zero Clincher Road Bicycle Wheelset Review

Fulcrum wheels have been used to win championships all over the world, and Fulcrum has been working with the top racing teams to make their wheels lighter, stiffer, faster, and smoother.

The spokes on have changed from older Fulcrum wheels; there;s no more propeller like flare at the end, which makes the wheels more aero and a little lighter.

The spoking pattern of the rear wheel is a little different. There are 21 spokes: 7 on the left side and 14 on the right side. This asymmetry means better power transfer, because the spokes have better traction on the 30mm deep rim. The front wheel features 16 regularly laced spokes, and the rim is 24mm.

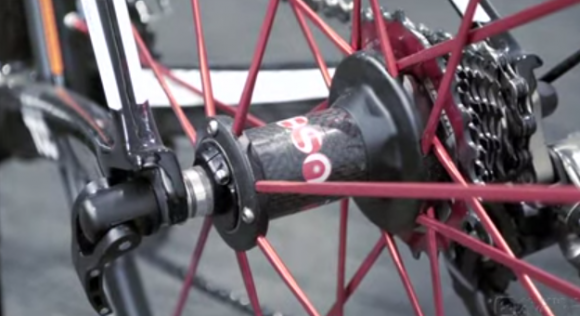
There is a carbon fiber shelve hub, which houses Campagnolo usb ceramic bearings. These bearings are lighter and more water resistant than stainless steel bearings.

Campagnolo Ultra Smooth Ceramic Bearings

Fulcrum has manipulated the rim to make the wheel lighter and more aero dynamic. There is also an updated lever to secure the wheel to the rim. And lastly, the rims are made with a two way fit system, which means they are compatible with all tires including tubeless.

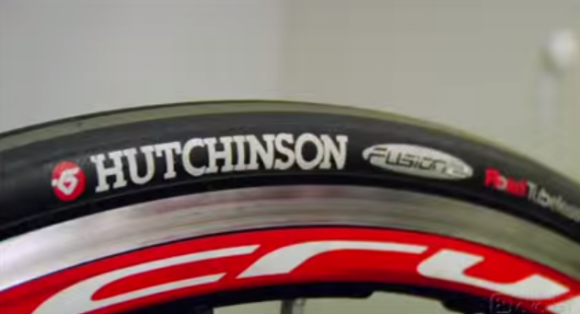
Hutchinson Tubeless Road Tire

When riding, the wheels are smooth and quiet.

Giro Air Attack Shield Bicycle Helmet Review

Company: 

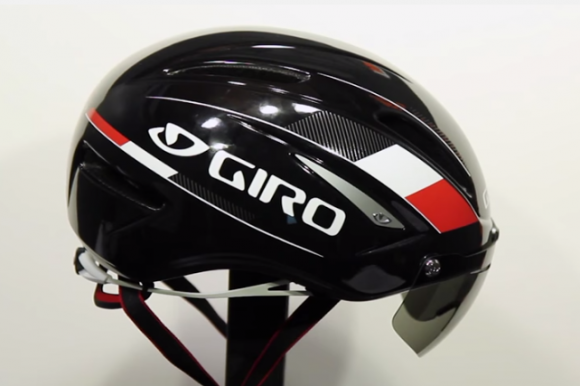
Everyday aerodynamics. Giro's Air Attack Shield features a compact, wind slicing shell that isn't as heavy or impractical as a full-on TT helmet. It's an ideal option for riders who spread themselves out over tri, road, cyclocross and other events.

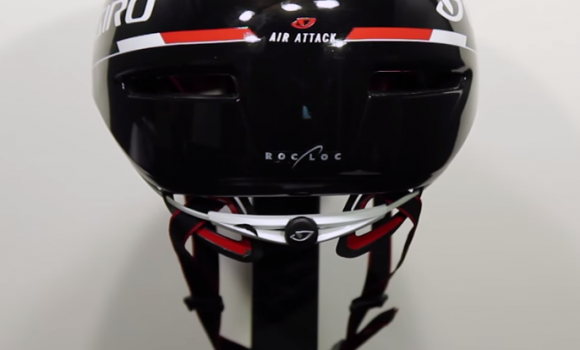
Like the newest Giro TT helmets, the Wind Tunnel™ ventilation system provides comfort during hard efforts without slowing you down. In-mold technology and an EPS liner provide superior impact protection, and the new Roc Loc® Air system ensures a comfortable, secure fit with further airflow and cooling.

The Air Attack's X-Static inner padding is comfortable and anti-microbial so it resists odor, and added Silver fibers help further regulate temperatures. An included shield provides eye protection when you need it, and since it's magnetically attached, it's easy to remove when you don't. Finally, SuperFit engineering guarantees a precise fit that's downright luxurious.

The Giro Air Attack features six vents, featherweight webbing and slimline buckles. Available in various colors.

Sizing:

Small (20" - 21.75"/51cm - 55cm)
Medium (21.75" - 23.25"/55cm - 59cm)
Large (23.25" - 24.75"/59cm - 63cm)

Review of Mavic Ksyrium SLS Road Bike Wheelset

Company: 

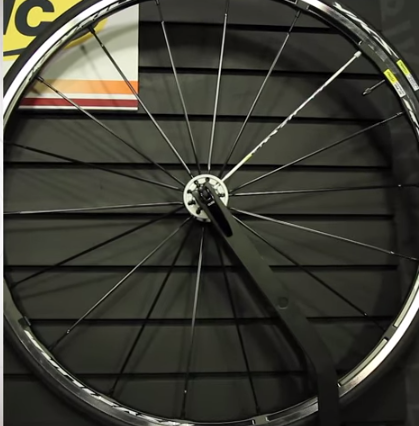
The Mavic Ksyrium SL S Clincher Wheel System is Mavic's popular and road-tested Ksyrium SL wheel, updated and improved, with Mavic's unique integrated tire and rim technology. By matching a specific tire with each wheel, the company is able to better control the way that stresses from the tire affect the rim and wheel and thus how the wheel performs overall. And, bonus, your wheelset will look extra awesome with matching wheel and tire graphics. Of course, you can also use any other road clincher tire with these wheels, if you prefer. Let's take a look from the outside-in:

The tires included are the Yksion Pro GripLink (front) and Yksion Pro PowerLink (rear). Up front, the GripLink compound is engineered to have superb grip in the corner, low rolling resistance, and a long-wearing center. The rear tire, meanwhile, features PowerLink compound for straight up speed and responsiveness. Both tires feature a whopping 210 TPI polycotton/Kevlar casing for a supple ride quality and excellent flat resistance, making these tires a good choice for race day or training rides. Both tires measure 700c x 23mm (23-622 ISO).

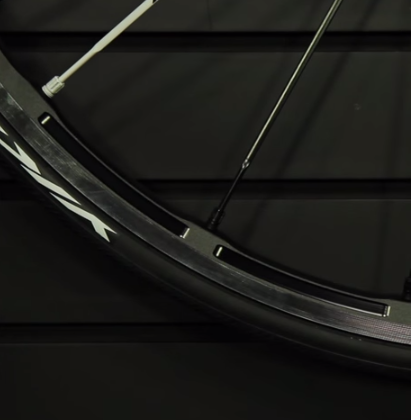
On to the wheel itself: Mavic's new 3D InterSpoke Milling (ISM 3D) has made the already-lightweight Ksyrium SL rims even lighter, removing material from the rim's lower bridge and sidewall to lower inertia without decreasing strength. Made of Maxtal aluminum, the rims already offered exceptional strength with an impressively low weight. Fore-drilling shaves off even more weight and eliminates the need for a heavy rim strip. The rear rim's asymmetric rear rim drilling reduces dish for stronger performance, and the UB controlled brake track allows reliable stopping in any riding conditions.

Spokes are bladed spokes made of Zicral alloy laced through oversized aluminum flanges for ultra-stiff handling with great aerodynamics. Radial lacing in the front and Isopulse lacing in rear: that's radial lacing drive-side and 2-cross non-drive-side for maximum drive-side dish and better spoke tension balance between left and right flanges, which makes for higher stiffness and better wheel stability, which makes for less maintenance needed—in other words, you can go harder and farther.

The hub design offers more weight savings while providing excellent performance. Carbon hub shells have a cool high-tech look; the FTS-L freehub body and QRM+ cartridge bearings make for efficient power transfer. Light alloy axles.

Available in either Shimano/SRAM 8/9/10/11-speed or Campagnolo 9/10/11-speed compatible versions. Claimed weight for wheels and tires: 1935 grams. Claimed weight for wheels alone: 1485 grams.

Cycling Plus Magazine's 2014 Bike of the Year- Cannondale Synapse 5 Review

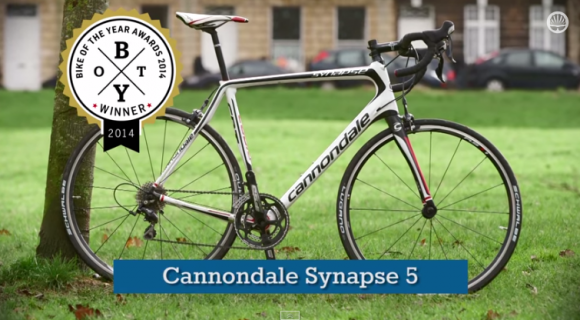
Cycling Plus’ 2014 Bike of the Year: The Cannondale Synapse 5. So what makes it a worthy winner?

Cannondale Synapse 5

The engineers at Cannondale have taken the very best from a race bike, and by that we mean handling, agility, efficiency, and just out and out pace, and they have blended that with comfort levels that you rarely see on a bike this much fun and this aggressive.

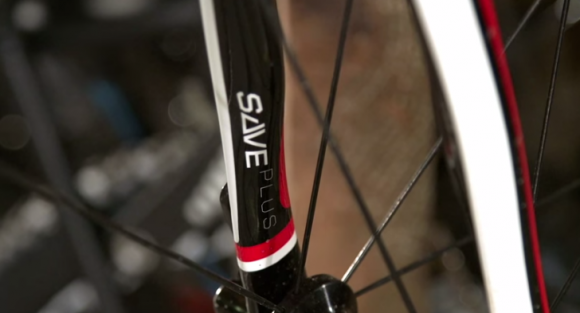
Starting out at the front. Cannondale has reduced the head tube so it sits in the middle of the old Synapse and Cannondale’s racing bikes. Moving on to the fork. It is slightly flared and the save plus design is there to take out all the bumps, and does so really successfully.

Save Plus Design Fork

On the backend is where Cannondale has done most of their work. Around the bottom bracket, you will notice what Cannondale is calling the power pyramid, where the seat tube effectively separates out the bottom, creating a really nice, super stiff, structure. The bottom bracket itself is a new variation on the BB30 standard that Cannondale created. The new BB30a is slightly wider, which has led to massive improvements in all out stiffness. In addition to the bike being super comfortable, all your power when pedaling is going directly through with no unwanted flex. The seat tube tapers as it moves towards the top tube junction. The seat post is slimmer than normal which adds to the compliance of the bike making it very comfortable.

Power Pyramid Design

All of the compliance and comfort of the bike makes skeptics think it could be boring, but the opposite is true. All of the comfort is wrapped up in a bike that handles brilliantly. It is one of the fastest descending bikes we have ever tried. Out of all the bikes tested for bike of the year, the Cannondale posted the fastest descending time and was smooth going over all the bumps of the road.

We’ve taken this bike out in the worst weather and on barely rideable roads, and through it all the bike has been unfazed and has performed wonderfully. It is a perfect companion if you want to get somewhere quickly and comfortably. Not only is this an easy choice for bike of the year, but it will change how bikes are designed forever.

This one is a real game changer.

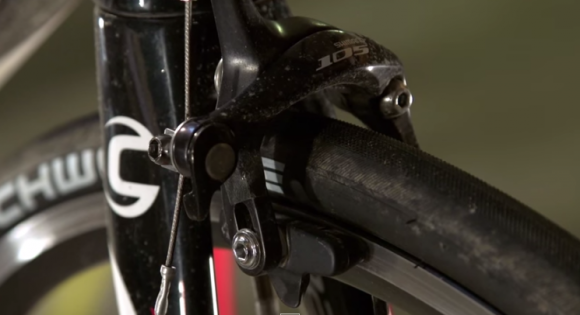
Shimano 105 Components

*The complete bike offered by Cannondale comes with Shimano 105 components. 

Great Road Bike Tire- Continental Grand Prix 4000 S II Review

Company: 

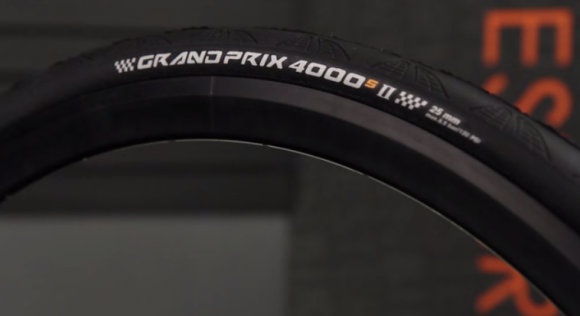
With the Continental Grand Prix 4000 S II, the last compromise really has been eliminated—Conti's magic Black Chili performance tires are now available with bold, bright sidewall color options, so those looking for a little coordination no longer have to choose between the best performing tire and a sweet-looking ride.

Despite its style upgrade, the Grand Prix 4000 S II is actually grippier, more durable, and faster than its predecessor. That's because Continental is able to improve their exclusive Black Chili just a little bit every year, thanks to their continued dedication to research and development.

What is Black Chili? It's a unique rubber compound with an ultra-dense construction and high silica content, allowing it to deliver outstanding grip and blazing fast speeds. This cutting-edge formula is also optimized for reliability and longevity, making it a great choice when both performance and durability are top priorities. Just like the name suggests, it's only available in black. Luckily, tje new colorful sidewall doesn't interfere with the tire's primary contact patch, so you get all of the benefits and none of the sacrifice.

The GP 4000 S II also features Conti's patented Vectran puncture protection breaker. Vectran was originally developed by NASA in the construction of space shuttles and suits, and Continental has brought its otherworldly lightweight protection to bike tires, making these lightweight tires impressively flat-resistant.

All in all, the GP 4000 S II is Continental's most advanced racing clincher yet, with a truly unique blend of speed, durability, and, now, aesthetics. Thanks to the high-tech materials and years of testing and development, the GP 4000 S II delivers low rolling resistance and superb handling with exceptional puncture protection and higher mileage performance than a typical race tire.

The Grand Prix 4000 S features three fabric plies for a total of 330 TPI, and has a Kevlar folding bead and a max inflation pressure of 120 PSI. Black 700c x 23mm weighs 205 grams; color versions weigh 215 grams. The 4000 S II is available in 700c (622 ISO) and various widths.

Mounting of CeramicSpeed with BB30 Bottom Brackets and Tool

CeramicSpeed bearings are hand made in Denmark from the finest quality components and special CeramicSpeed balls. Each part is designed to have the lowest friction possible and the longest lifetime.

Mounting a CeramicSpeed BB30 bottom bracket:

The tools needed are a 10 mm hex key, CeramicSpeed grease, bb30 bearing press, hammer, cloth, knife, and bb30 tool.

Step 1: demount the original crank. The exact procedure for this can vary from brand to brand. Take your 10mm hex key and unscrew the crank on the non-drive side. Remove the crank arm, then remove the washer. Give the axle a gentle tap with the hammer. Remove the chain from the chainring. And then you’ll be able to remove the crankset.

Use 10mm Hex to Remove Cranks

Now take the bb30 tool, insert it through one of the bearings in the shell, and place it against the back side of the opposite bearing. Tap gently on the tool until the bearing comes out. Remove the tool and repeat from the opposite side. Now take a cloth and clean the bottom bracket hole.

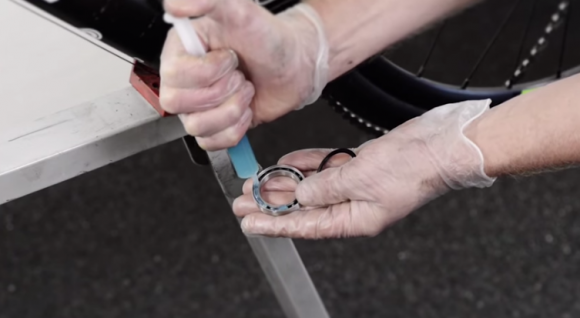
Apply Grease to New Bearings

Step 2: mounting the CeramicSpeed BB30 bottom bracket. Take the bearing and fill it with grease. Then clip the bearing seal it to place and mount it on the frame. Take your bearing press tool, place the first bearing on the tool, put the tool through the bearing shell, and place the other bearing on the tool. Now use the tool to press the bearings into place. Make sure the bearings are aligned correctly. Mount the original dust covers, apply mounting paste or grease to the axle, press the axle through the bottom bracket bearings, and spin the crank. Mount the wave washer and put on the pedal arm of the non drive side.

Install New Bearing with Bearing Press