To improve the performance and life span of a cassette it is important to clean it manually. After removing the cassette from the hub, flip it over, and remove the screw holding the stack together. It is often labeled with a small letter. Using a hex key, loosen counter clockwise and remove the screw. Now the largest sprocket can be removed. In between each sprocket is a plastic spacer. Carefully disassemble all the sprockets and spacers.

Screw Holding Sprocket Stack
Clean all the pieces to remove dirt and grease. The sprocket will be shiny once all the grease is removed.
To assemble the cassette first locate the small hole on the bottom of the sprocket. Insert the screw through the hole so the head of the screw is on the same side as the letter. Lay the sprocket down on the table. When adding the spacers, locate the alignment hole and slide it over the screw. For the sprockets, it is critical that all the teeth line up properly. There are 3 holes on each sprocket. Only one of them has a marking next to it. It will always be the hole closest to the alignment groove. With the marking facing downward slide the sprocket on to the stack. Assemble the rest of the spacers and sprockets in the same way.
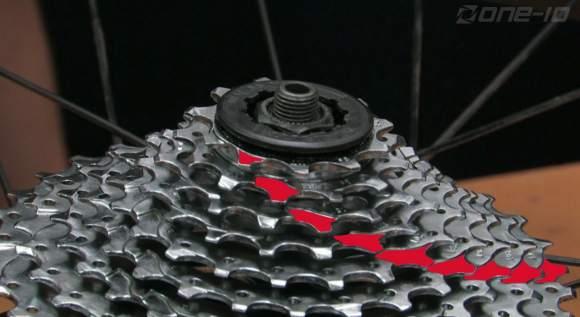
Correctly Aligned Cassette Teeth
Once all the sprockets have been assembled, flip over the stack and tighten the screw with a hex key. Be careful not to over tighten and stir the threads.