We've shown you how to replace an entire hub assembly that goes bad in your bicycle tire but there may come a time when little adjustment is all that's needed. One common mantra among bicycle toilers is "don't replace what first you can repair...or at least try to." Follow these tips to see if you can rebuild it, you have the technology - or the hub has seen its last good run.
Prep Steps
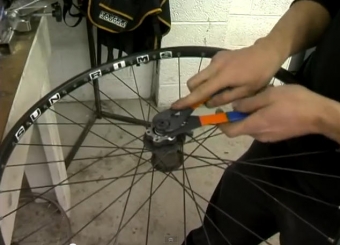
The first thing to do when adjusting a hub is to remove the two dust caps that are designed to keep dirt and road debris out of the hub assembly. If these covers don't exist on your bicycle, that's probably the main cause of your issues. Once the caps are removed you'll need to locate two special flat wrenches called cone wrenches, a 15mm one and 17mm one. Apply the 15mm wrench to the inside nut and the 17mm wrench to the outside nut and twist each counter-clockwise to loosen the assembly.

Special flat wrenches are needed to get the hub assembly loose
Find The Happy Medium
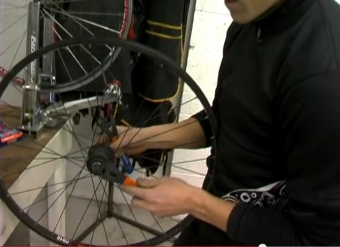
The hubs become lobsided for whatever reason but now that the connection is loosened they can be readjusted. Place each of the wrenches on a different side of the wheel and adjust the right and left sides until the assembly is level and just a hair loose so it rotates with ease. This may take some time to master and you might find yourself taking the bike all the way back apart once you've put it together once or twice or seven times but your labor costs are much less than a replacement hub.

You may have to try and try again to get the hub centered just right but ridding a lobsided ride is worth it.
Put the tire back on the bike, reattach the brake cables and test out your DIY mastery...preferably at slow speeds at first.