Overhauling and Adjusting Cup and Cone Hubs:
Many wheels run on sealed bearing hubs these days, but there are many good cup and cone hubs worth maintaining.
A cone wrench and a crescent wrench are really all you need to get started. Hold the cone in place and break the locknut free. Particularly if you are working on a rear wheel, you want to count the number of threads beyond the locknut. With the rear wheel, you will need to remove the cassette or freewheel. Remove the locknut and spacers, and remember their order. Now you can use your hands to spin off the cone and withdraw the axle. Clean and carefully examine the cones.

A Crescent Wrench and A Cone Wrench are Needed to Access the Hub
Now, turn your attention to the hub itself. Remove bearings from both sides of the hub. A magnetized tool can make this a lot easier. With degreaser, clean inside the hub shell. Buff the cup thoroughly, then examine it with a ballpoint pen for any pitting.
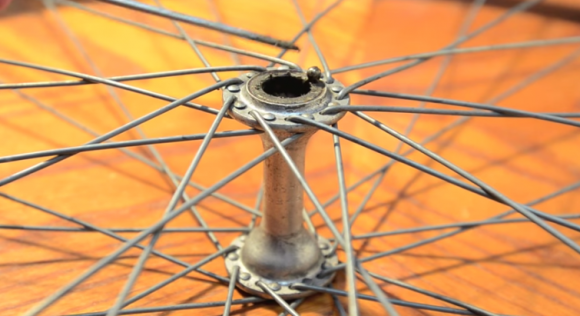
Remove Bearings From the Hub
If all is well, fill the cup with fresh grease and replace the bearings. Typically a rear hub will have nine 1/4” bearings and a front hub will have ten 3/16” bearings. Put some more grease over the bearings. Now, carefully slide the axle back in. Re-install the cones by threading with your hands. Make sure your threads are equally spaced here, so adjust them until they are. Then, replace spacers and locknuts.
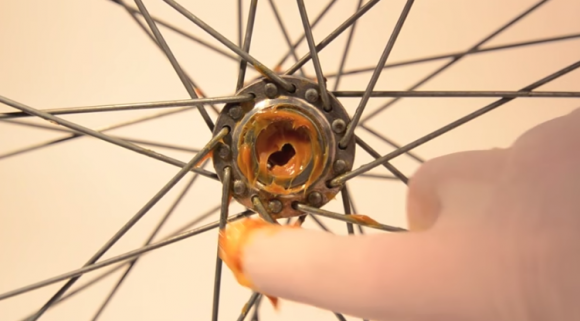
Use Plenty of Grease When Reinstalling the Hub
The last part can take several attempts since you want neither binding nor play with the bearings. Work the cone and the locknut in concert until everything runs smoothly. Patience is key. When everything runs freely in the frame, you are ready to roll.