Remove an adjustable bottom bracket:
start by first removing the cranks. A lockring on the outside of the left hand side cup is an indication that the cup and cone bottom bracket is serviceable. Turn this counter clockwise to unlock the cup. This is easiest with a lockring spanner that fits the notches on the ring exactly. You can also use a universal tool with one tooth or tap it around with a hammer and an old screwdriver. Remove the lockring.
Start the process with a lockring spanner
Once you have removed the lockring, you can remove the cup. If it has hexagonal flats, turn it with a spanner. If the cup and cone bottom bracket has holes, use a peg spanner. Turn the left hand cup counter clockwise. The left hand cup is the adjustable cup.
Remove the left cup and collect the ball bearings from the left side. They may be loose or in a clip. Pull out the axel and note which was it fits. It may not be symmetrical. Once side may be longer than the other. Remove the ball bearings from the other side.
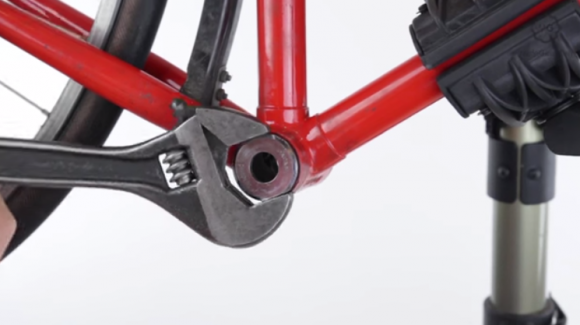
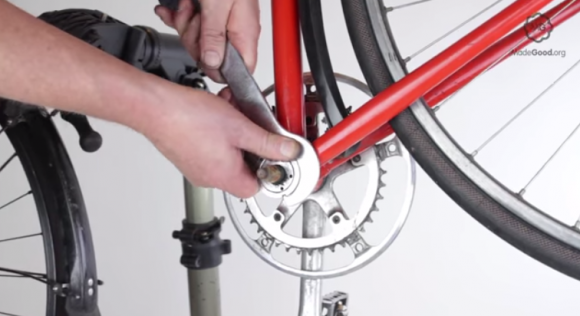
Remove the fixed cup with an adjustable wrench
On most bikes the fixed cup, the one on the right, is screwed in on a clockwise thread. The exceptions are some old italian or french bikes. The fixed cup may have two shallow flats or be hexagonal.